


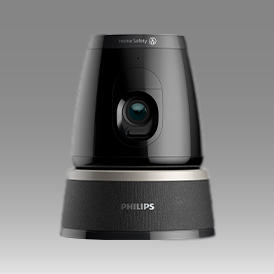


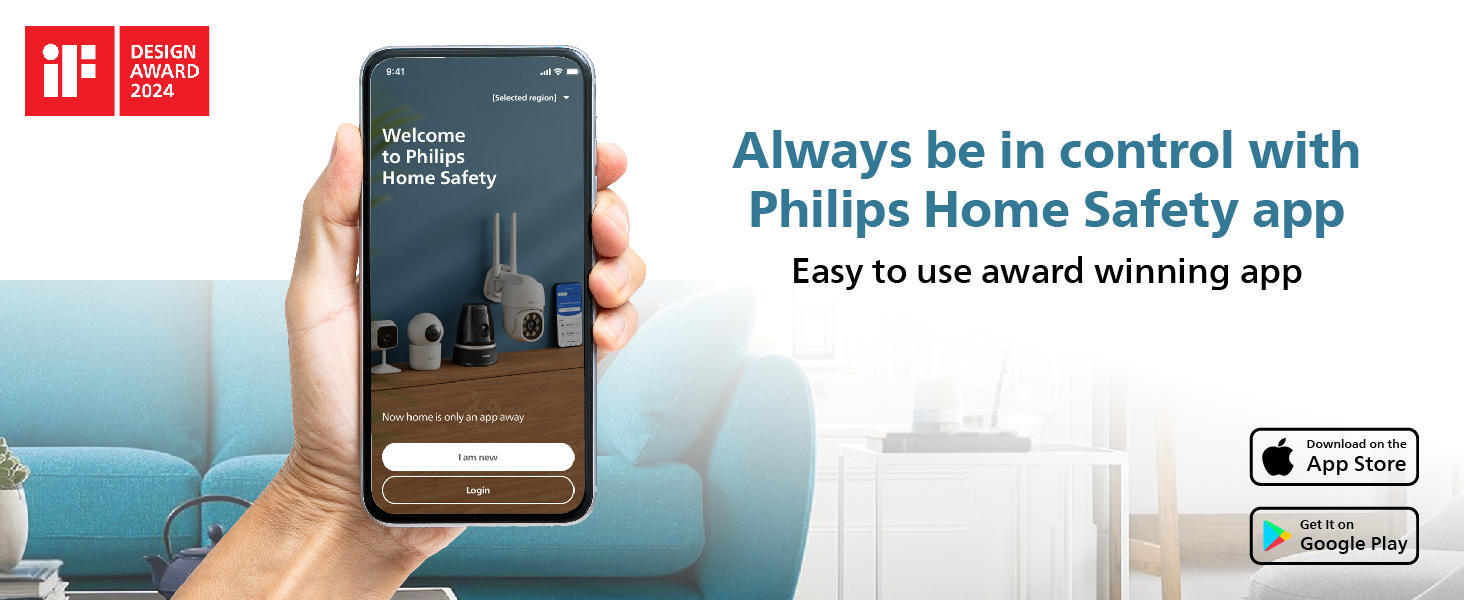
Philips 5000 Series indoor 360° wifi camera
HSP5500/02
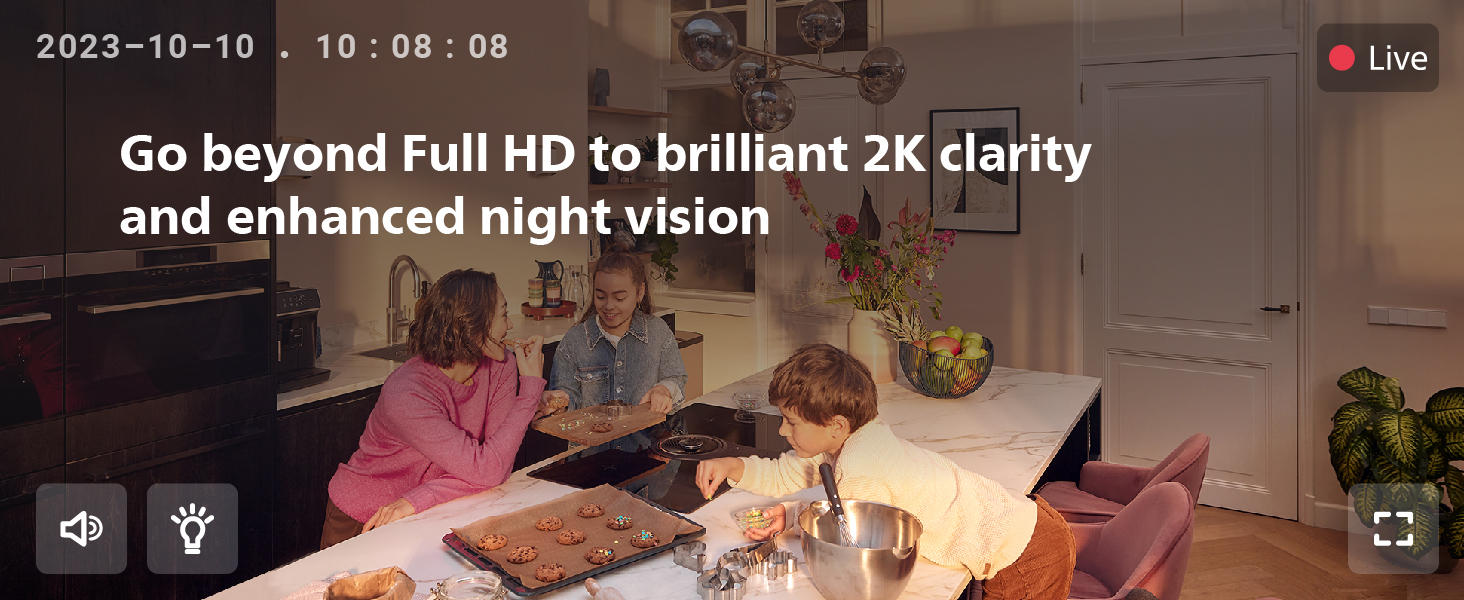
- 3MP 2K (1296P) RESOLUTION WITH ENHANCED NIGHT VISION - Crisp and clear Video recording, to ensure clarity in live video and playback. Gain a clear view in low-light conditions with IR visibility up to 10 meters..
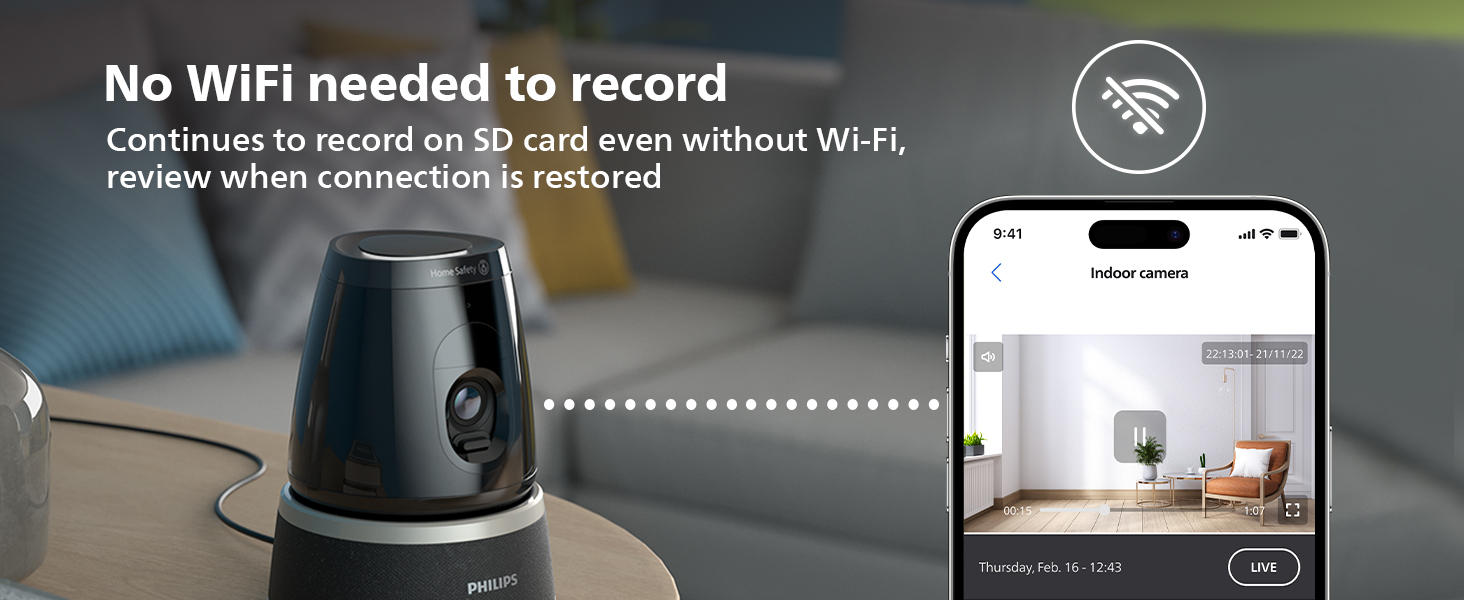
- OFFLINE RECORDING – Continues to record on SD card when wifi disconnects, upload to the app when internet connection is restored.
- 360 PAN, TILT, ZOOM - view ensures that all movements are captured with auto motion tracking & Pan, Tilt, Zoom
- PROTECTS YOUR PRIVACY – Use Privacy Shutter to keep your personal moments private. Uses the same encryption level as banks on SD card and cloud.
- TWO-WAY AUDIO - Enables two-way communication from anywhere through the app.
- AI BASED Advanced DETECTION – Set up custom alerts basis detection of people, pet, sound or even a child crying.
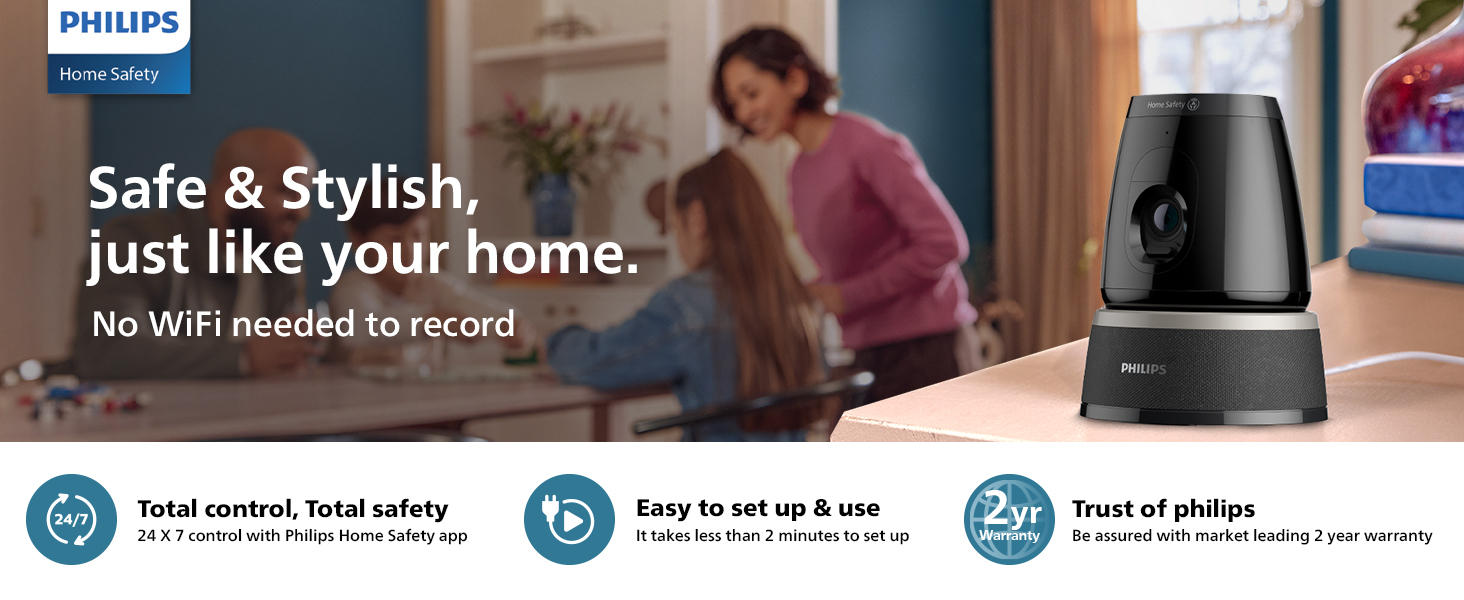
- 2+1 YEAR REPLACEMENT WARRANTY - Enjoy a 2+1year product replacement warranty from Philips; no service center visits required. Contact us: 1800-572-1800 & Whatsapp: +919818154649
- A stable 2.4 Ghz WiFi connection is necessary at all times to access the Philips Home Safety app and enable event recording or continuous recording
- CLOUD SUBSCRIPTION - Store recordings securely in the cloud via Play Store or Apple Store with PHILIPS CCTV Camera. Get 14-day backups, playback during outages, and encrypted storage. Monthly plan for one device. Manage anytime. ** Please check if the app is updated to Latest version - App version v1.7.0 & above.
Save Extra with 2 offers:
- Additional 1 Year Warranty - 2+1* year additional warranty coverage exclusively for products puchased from this website | Check Warranty Policy
- Buy Now, Pay Later- Easy EMI options let you have what you desire the most | Details on Checkout
₹ 6,599.00
- ₹ 8,995.00 (27% Off) Inclusive of all Taxes
 5000 Series indoor 360° wifi camera
 Philips Smart 360° Wifi Outdoor Security Camera (HSP3800)
 Philips Smart 360° Wifi Indoor Security Camera (HSP3500)
 Philips Smart Indoor Wifi Security Camera (HSP1000)
Philips 5000 Series indoor 360° wifi camera

₹ 6,599.00
- ₹ 8,995.00 (27% Off)

Two way talk & siren
Respond and react with two way talk and siren

Get the alerts that matter
Detect people, pets and sounds or even a child crying using AI
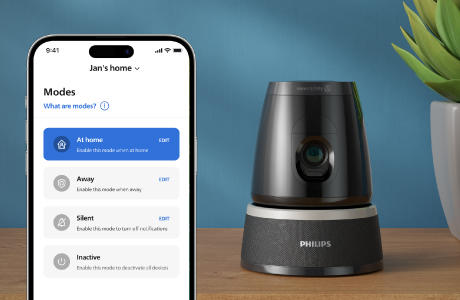
Smart Modes
Control and customize how all your devices turn on/off at the click of a button
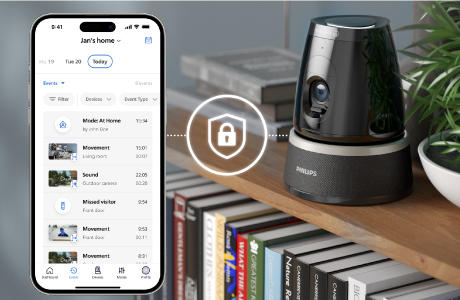
Keep your data private
With data encryption, as trusted by banks, your data is safe
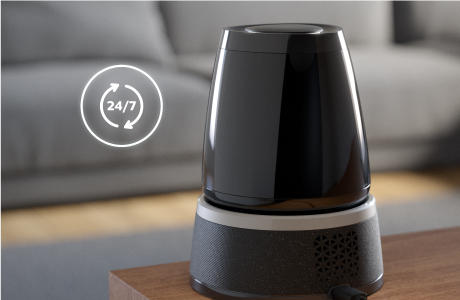
24x7 recording
Choose to continuously record to MicroSD Card
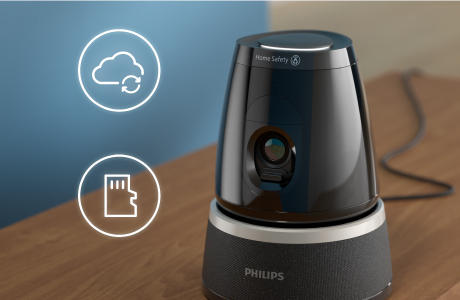
Secure storage options
Up to 128 GB Micro SD card or optional cloud back up for a small monthly fees
Overall Rating
15 reviews
0%recommend this product
Reviews
Specifications
-
Connectivity
- Wireless
-
2.4Ghz Only
- Installation Requirements
-
Direct to WiFi, no bridge, hub or base station required
- Network requirement
-
Minimum network requirement for high resolution: 2Mbps
-
Features
- Offline Function
-
Continues to record to SD Card*, when Wi-Fi is not available
- Motion Detection
-
Yes
- Advanced Detection
-
Person Detection, Pet Detection, Child Cry Detection
- Encryption
-
End-to-end encryption, AES 128bit
- Privacy Mode
-
Physical Privacy Shutter, Inactive Mode
- Continious recording
-
15.82GB/per day; Max 7.5 day
-
Performance
- Power Source
-
Mains Power (DC 5V/1A), USB-C
- Power Cable
-
1.5 Metres
-
Weight & Dimension
- Dimensions
-
174 х 158.5 х 99mm
- Weight
-
655g
-
Technical Specifications
- Video Format
-
2K
- Image Sensor
-
3MP
- Video Resolution
-
2304 х 1296
- Night Vision
-
Enhanced Black & White, Infrared visibility up to 10m
- Storage
-
Up to 128GB MicroSD Slot (SD card not included), Cloud Backup of events for small monthly fee
- Field of View
-
360° View
- Angle of View
-
102° Diagonal
- Pan & Tilt
-
-10° to 25°
- Audio
-
Full duplex two-way audio, Built-in microphone & speaker, Echo Elimination
- Built-in Siren
-
Yes
- Operating Temperature
-
-10°C to 45°C
- Outdoor/Indoor
-
Indoor
FAQs
Yes, you can check what's happening at home using the Philips Home Safety app from anywhere with internet access, even if you're in another country.
To save and watch recorded events, you need either an SD card or a Cloud Subscription. Without one of these, you can only see the live view of your camera.
If you want to use your camera in a new location, you must unpair it from the app, and then pair it again using the new WiFi details.
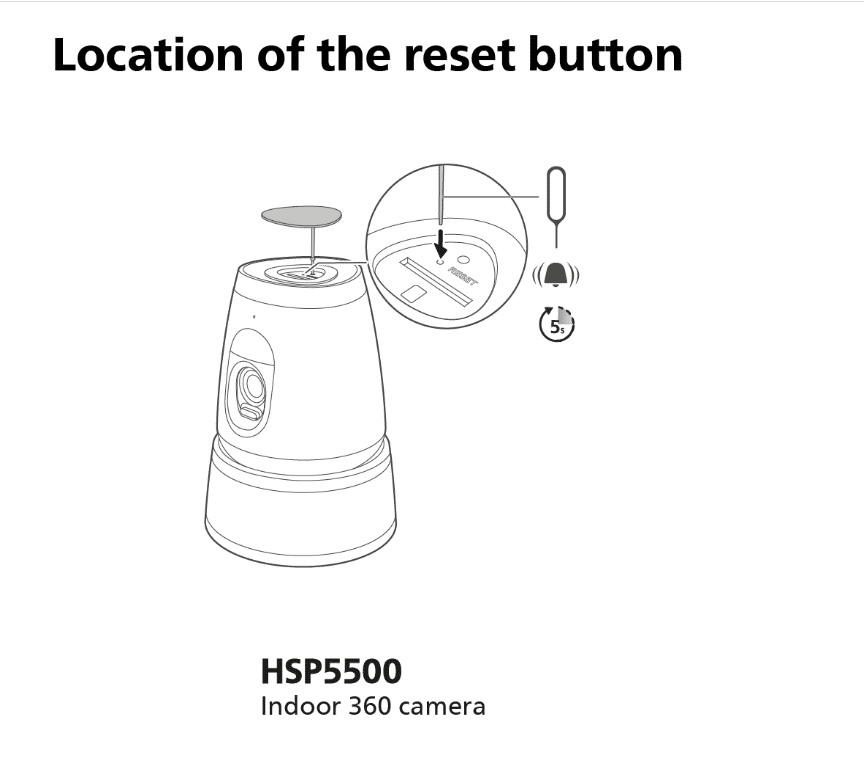
If you want to pair your Philips Home Safety Camera to a different account, or if you have changed your WiFi password or network, you will need to reset your camera and pair it again. Find out how in the article below.
Resetting your camera:- Press the reset button for five seconds.
- You should hear a prompt to confirm the reset.
- Wait for the indicator light to turn white and flash slowly.
- The camera is now in pairing mode.
Pairing your camera again
To pair your camera again, you first need to unpair it from the Philips Home Safety app. Then, pair it again using the new WiFi password and/or network. To do so, please follow the steps below:
- Go to "Profile".
- Tap "Home management".
- Select your "Home" and go to the section "Connected Devices".
- Tap on the camera you want to unpair and,
- Select "Unpair device from home" to unpair.
- Tap on the plus icon or go to ‘’Devices’’ and follow the steps to re-pair the device.
If none of these steps work for you, please contact us for further assistance.
Your Philips Home Safety camera is only compatible with 2.4 GHz WiFi networks. See below for the minimum network requirements.
Section: Minimum requirements
For optimal performance, it is recommended to place your Philips Home Safety Camera within the WiFi range of the router. The Philips Home Safety Camera should also work with a WiFi range extender, if the network to which the range extender is connected, is a 2.4 GHz network.
Minimum requirements:
- Indoor 360 camera, HSP5500: High resolution: 2Mbps, Low resolution: 256Kbps
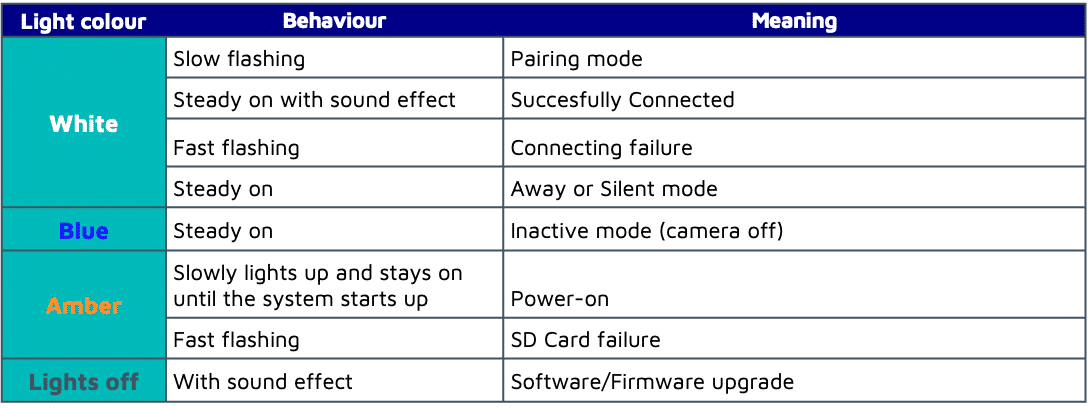
Intro: The LED light on your Philips Home Safety camera serves as a status indicator for your device. In the table below you will find the meaning behind each light behaviour.
Additionally, you have the option to deactivate the LED indicator on your camera. Follow the steps below to turn off the LED indicator.
Section title: Turning off the LED indicator.
By following these steps, the LED indicators on your device are deactivated. The only remaining illuminated signal will be when the device is powered on.
- Go to ‘’Devices’’.
- Tap ‘’Settings’’ for the specific camera you wish to turn off the LED indicators.
- Go to ‘’Camera settings’’.
- Toggle off the "Camera LED Indicator" option
Intro: With continuous recording, you can have CCTV-style performance with your Philips Home Safety Indoor 360 Camera. Find below how to enable continuous recording, how many consecutive days you can store, and how to watch your recordings.
An SD Card and an active and stable WiFi connection are required for continuous recording to work. Continuous recording is not available for the Philips Wireless Video Doorbell or the Wireless Spotlight Camera.
Section 1: Enabling continuous recording
You can activate continuous recording within a mode by following these steps:
- Open "Modes" in the app.
- Tap on edit on the mode you wish to use for continuous recording.
- Select the camera for continuous recording.
- Tap on ‘’continuous recording.’’
- Toggle on continuous recording.
Once this mode is activated, continuous recording will occur for the duration of the mode.
Section 2: Accessing your continuous recordings
To access your continuous recordings, follow these steps:
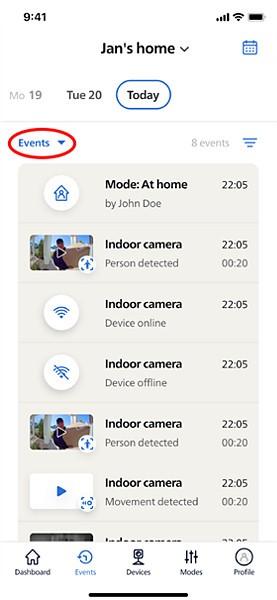
- Navigate to the "Events" section.
- Tap the dropdown menu labelled "Events" at the top left.
- Choose "Continuous Recordings.
Section 3: how many days of video can I record?
For video recording throughout a whole day (24h), approximately 16GB of storage is required. Using a 128GB SD card enables up to 7 consecutive days of continuous recording.
When the SD card becomes full, your Philips Home Safety Camera will automatically overwrite the oldest recorded footage, ensuring continuous recording without interruption.
Intro: The Philips Indoor 360 camera works with motion and sound detection: when movement or sound is detected, this is recorded as an event and a notification can be sent.
All recorded events can be found in the Events tab. Read the article below to learn more about movement and sound detection, how to configure this and how to set up specific actions for detections.
There are 2 types of Movement detection:
- All Movement: Any form of movement detected by the camera is recorded as an event and labelled the same, no matter the nature of this movement.
- AI Detection: the built-in AI determines the type of motion detected and only records an event for the specific detection types that you have selected. (For example, with AI person detection, it will only record an event if the AI has labelled the movement as a person).
And 2 types of Sound detection:
- All Sound: Any sound detected by the camera is recorded as an event and labelled the same, regardless of the type of sound.
- Child Cry: the built-in AI determines the type of sound detected and only records an event if it has detected a child crying.
You can select your preferred type of movement and sound detection per device, by editing Modes. It is also possible to further configure what happens when movement is detected. See the section below to learn how to do this.
The Indoor 360 camera can also be used for continuous recording. With this feature, the Indoor 360 camera will record for as long as the Mode, for which continuous recording is enabled, is active. Movement and Sound detection can be enabled during continuous recording to receive notifications of any activity.
Section 1: Configuring Movement and Sound Detection
You can configure Movement and sound detection to your liking for each Indoor Camera for each Mode.
- Open "Modes" in the app.
- Tap on ‘’edit’’ for the Mode you want to configure.
- Select a camera.
- Tap on ‘’Movement detection’’ or ‘’Sound detection’’.
- Another screen will open where you can change all settings to your liking.
- Tap the arrow in the top left to go back.
- Save your changes.
Section 2: Set up actions for Movement and Sound Detection
you can set which actions are performed when movement or sound is detected. This works both for All Movement/All Sound and AI Detection/Child Cry.
- Open "Modes" in the app.
- Tap on ‘’edit’’ for the Mode you want to configure.
- Select a camera.
- Tap on ‘’Movement or Sound detection’’; a different screen will open.
- Tap below Actions.
- Toggle the actions on or off to your liking.
- Tap twice the arrow in the top left to go back.
- Save your changes.
Intro: In this article, you can find the instructions on how to install your Philips Indoor 360 Camera. This camera can be placed on a flat surface or mounted to the ceiling.
You can also find detailed instructions in the Quick Start Guide included in the box.
Important before getting started:
- Please have your Wi-Fi network name and password at hand.
- Make sure your mobile device is running IOS 15 or higher or Android 8 or higher.
- Only connect to a 2.4 GHz Wi-Fi network. (5 GHz network not supported).
Section 1: How to video
The video below will help you with the installation and mounting of the Indoor 360 camera.
Section 2: Instructions
Setting up
- Download the Philips Home Safety app.
- Connect the camera to a power source.
- Remove the top black rubber lid to see the reset button and entrance of the Micro SD card.
- Insert the small needle in the hole above the Micro SD card entrance. Press for 5 seconds and pairing can be done in the app when the camera starts to beep.
- (Optional) Insert a Micro SD card.
- You can place the camera on a flat surface (shelf, table etc.) or use the included mount to place it on the ceiling.
Mounting to ceiling (optional)
- Use the drilling template to mark the fixing points.
- Drill the holes and insert the anchors.
- Fix the bracket, securing it in place with the screws.
- Fix the camera by twisting its base onto the bracket.
Now you need to rotate the camera view 180 degrees, so the view is not upside down:
- Go to ‘Devices’.
- Tap on ‘settings’ for the Indoor 360 Camera.
- Tap on Video.
- Toggle ‘Rotate Image’ on.
Manual and Documentation
Find an Authorized Service
Center
Social
Secure Payment By